Winter on Vancouver Island has its own personality. The air gets cooler, the days feel a little shorter, and every so often there’s that light dusting of snow that makes the whole neighbourhood look like a postcard. And then… the rain comes back. And stays. And doesn’t really leave.
While most of Canada is worrying about blizzards and heavy snow loads, homeowners in Victoria, Sidney, Sooke, and elsewhere along the coast deal with something far more subtle—but just as destructive: persistent moisture, constant humidity, and the salty ocean air that sticks to absolutely everything.
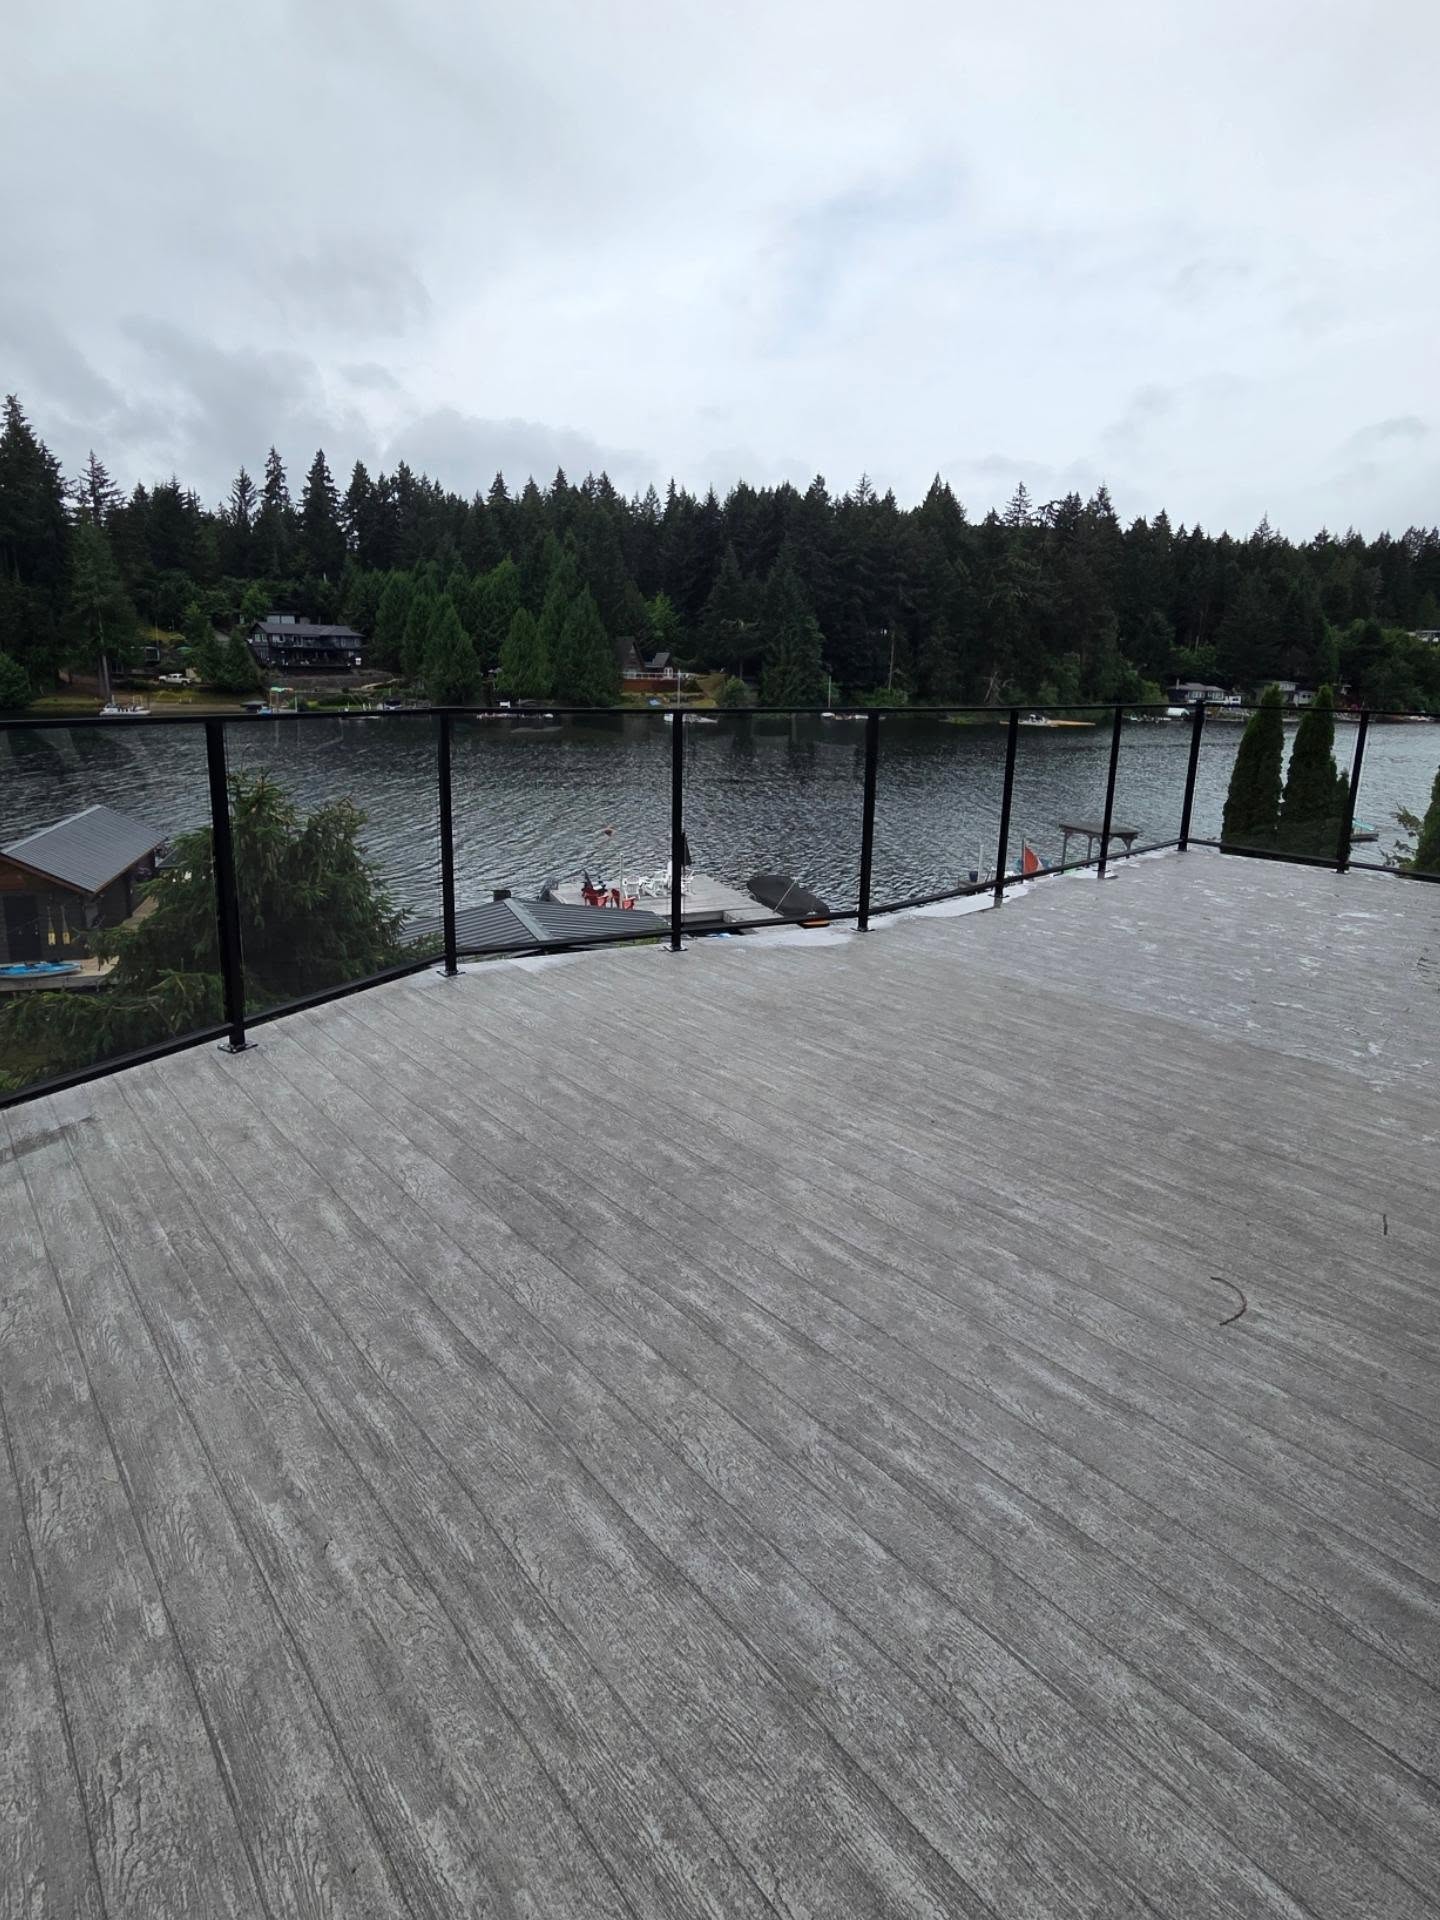
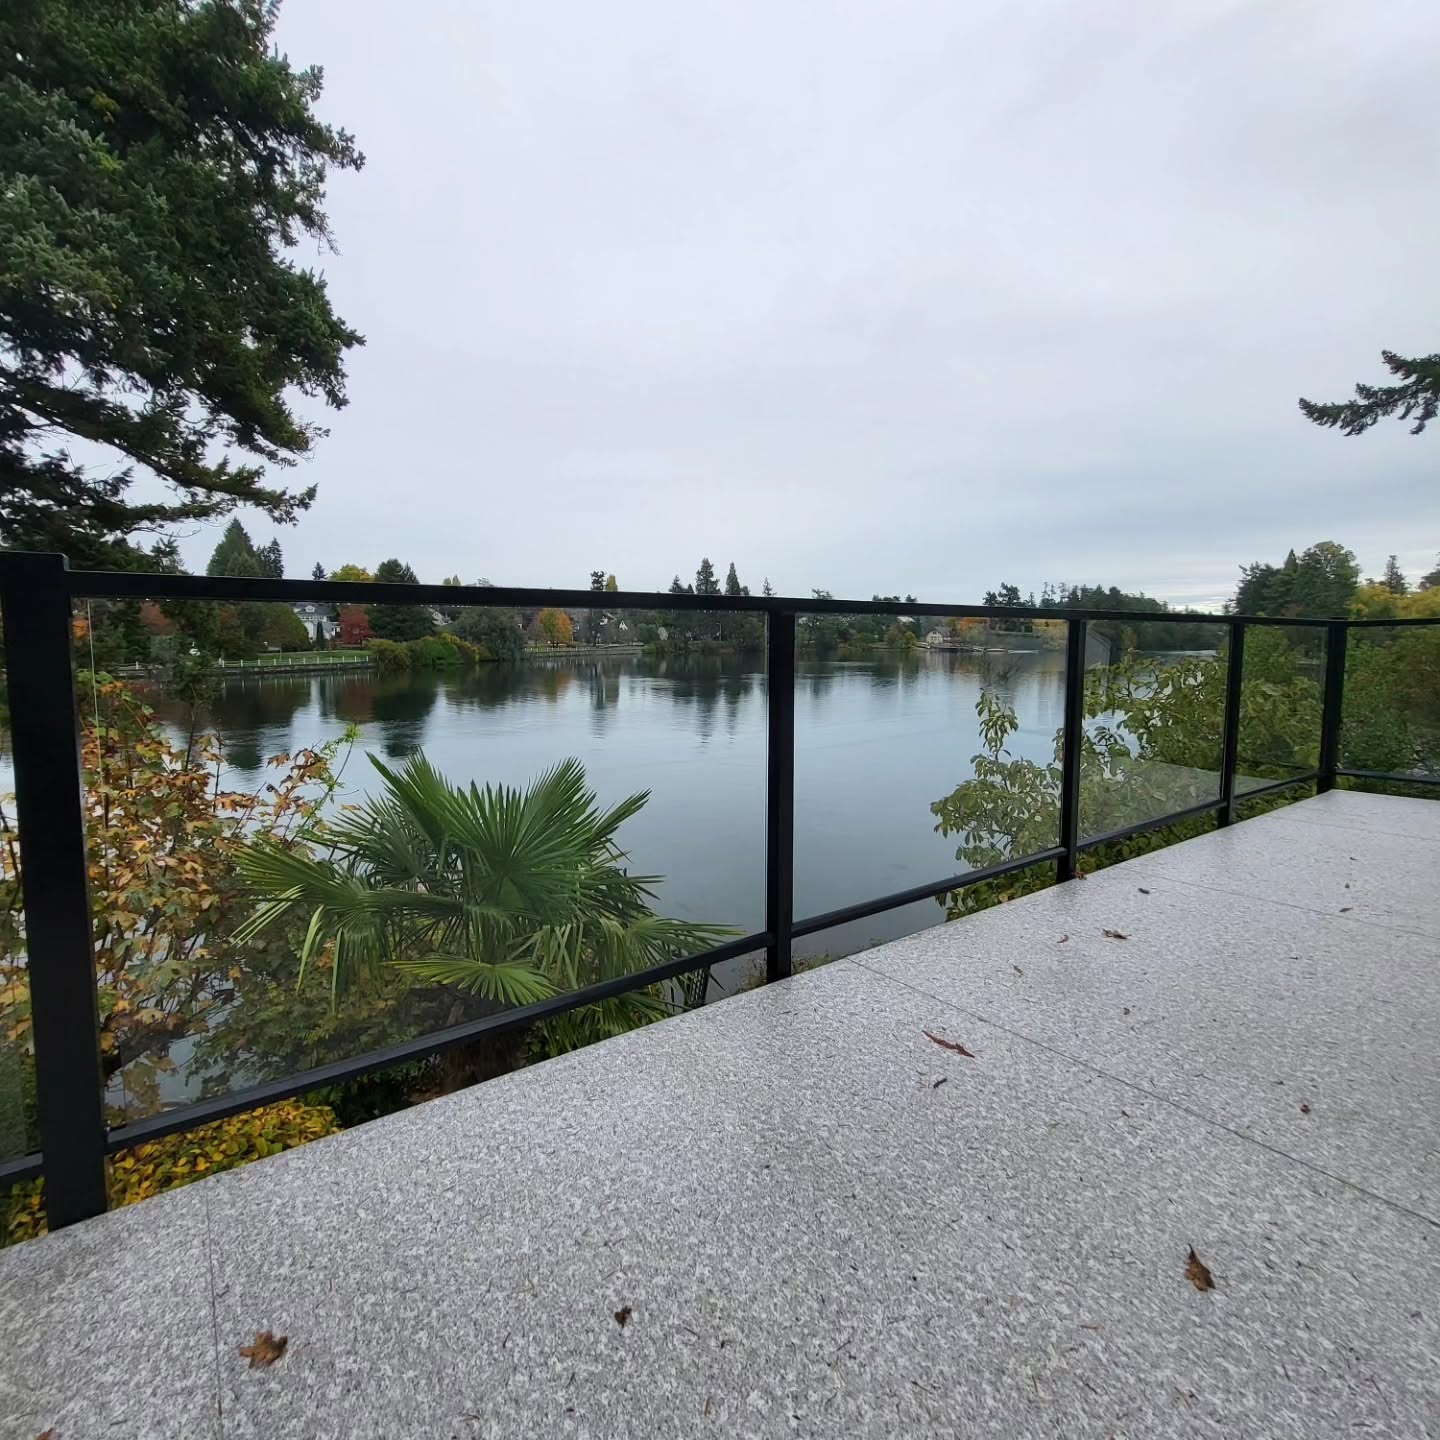
If you’ve invested in powder-coated aluminum railings from a trusted local installer (hi, that’s us!), you already made one of the smartest home-improvement decisions possible for this climate. Aluminum holds up beautifully here, and powder coating gives it a durable finish that’s hard to beat. You chose these railings because they look great and don’t need a lot of fussing over—and you’ve probably enjoyed exactly that.
But even the toughest aluminum railing needs a bit of care before winter sets in, especially here on the coast where moisture sneaks into every nook and cranny. “Low-maintenance” doesn’t mean “set it and forget it,” and a little preparation now will go a long way toward keeping your railings looking new for many years.
Think of the powder coating like a protective shell. It’s tough, absolutely—but even the strongest shell can develop tiny weak spots over time. This guide will walk you through how to spot those early signs, how to clean and protect your railing properly, and how to get it winter-ready without feeling overwhelmed.
Whether you’re a DIY person or simply want to understand how to protect your investment, this is your easy, homeowner-friendly winter prep guide built specifically for Vancouver Island’s damp coastal climate.
Understanding Your Railing (And the Local Challenges)
Before you jump into cleaning or sealing anything, it helps to know what makes your aluminum railing such a solid choice—and what it’s up against in Victoria’s winters.
Why Powder-Coated Aluminum Works So Well Here
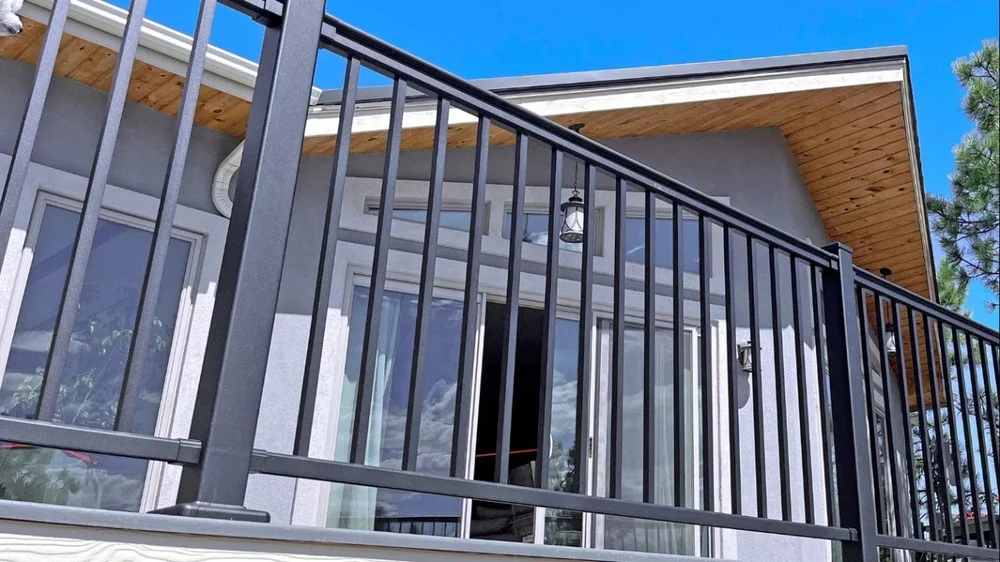
Powder coating isn’t paint—it’s a baked-on finish that’s thick, smooth, and long-lasting. It wraps your aluminum railing in a protective layer that resists scratches, fading, and environmental wear.
And aluminum itself is naturally rust-resistant, making it an excellent material for damp climates. Unlike iron, it doesn’t turn brown and flaky. Instead, it forms a thin oxide layer that protects it from worsening.
So, yes—great choice.
But… Here’s Where BC’s Coast Pushes the Limits
Vancouver Island doesn’t really “freeze” the way the rest of Canada does. Instead, we get:
Nonstop moisture
Salt carried inland by ocean winds
Mildew and algae growth
Occasional freeze–thaw cycles
What does that mean for your railing?
Salt and moisture can creep into tiny scratches and start lifting the powder coat.
Algae and mildew can sit in corners and joints where water collects.
Wet debris and organic matter hold moisture against the finish.
If left alone long enough, this can lead to cosmetic issues like filiform corrosion.
None of this is dramatic. That’s the tricky part—it’s slow and subtle. But winter-prepping your railings stops these problems long before they begin.
The Pre-Winter Check-In
Set aside one mild fall day, grab a coffee, and do a quick walkthrough of your railing system. It doesn’t need to be complicated.
1. Do a Visual Check
Look for:
Small scratches or chips
Dull or chalky spots
Tiny green or black marks (algae or mildew)
Bubbling or lifting in the finish
Dirty buildup around the joints, posts, and corners
These areas simply need a bit more attention during cleaning.
2. Check the Structure
Give each post a gentle shake. It should feel solid and unmoving.
Also look at:
Post bases
Screws or fasteners
Sealant around the post plates
If anything looks loose or deteriorated, tighten or refresh it before winter hits.
3. Gather Your Supplies
Avoid anything harsh.
Safe to use:
Mild dish soap
Soft cloths or microfiber
Soft-bristle brushes
Garden hose
Non-abrasive automotive spray wax or polymer sealant
Avoid completely:
Bleach
Pressure washers on high settings
Abrasive sponges
Harsh solvents
Metal tools for scraping
If you wouldn’t use it on a car’s exterior, don’t use it on your railing.
Deep Cleaning (The Most Important Part)
Winterizing starts with a good clean. This removes salt, dirt, pollen, mildew, and anything else that will sit under the protective seal.
1. Rinse First
Use a garden hose to wash away dust and loose debris.
Focus on:
The underside of the top rail
Corners and joints
Baluster bases
These areas hide moisture.
2. Wash Gently
Fill a bucket with warm water and mild soap.
Wipe everything down using:
A soft cloth
A microfiber mitt
A soft brush for textured areas
If you spot mildew or algae, use a vinegar + water blend (1:3 ratio). It’s gentle but effective.
Avoid bleach—it’s too aggressive for powder coating.
3. Rinse Again
Don’t let the soap dry on the surface. Rinse thoroughly to keep the finish clean and streak-free.
4. Dry Completely
This is crucial in a coastal climate.
Use a cloth to remove excess water, then let everything air-dry fully. Pay extra attention to joints—any trapped moisture can cause trouble once sealed in.
Repairing Small Imperfections
Once the railing is clean and dry, you can clearly see any small scratches or nicks that need a touch-up.
1. Touch Up Scratches
If you notice any exposed metal or chips:
Clean the area with a bit of isopropyl alcohol.
Use touch-up paint recommended by your railing installer.
Apply thin layers—don’t glob it on.
Let it cure fully (usually 24–48 hours).
This prevents corrosion from sneaking in under the coating.
2. Refresh Sealant Around Post Bases
If you see cracking, peeling, or missing caulk:
Remove the old material.
Apply a fresh bead of exterior-grade silicone.
This keeps water from working its way underneath.
3. Check Hardware
If you see rust on screws, clean the surface and apply a thin protective coating. Stainless steel hardware should hold up well, but a little care ensures longevity.
Adding the Winter Shield (Your Railing’s Raincoat)
Once everything is repaired and completely dry, it’s time for the step that makes the biggest difference: applying a protective wax or sealant.
Why This Matters on the West Coast
A protective coating:
Creates a barrier between the railing and salty moisture
Helps water bead off instead of sitting on the surface
Reduces the buildup of grime
Makes spring cleaning way easier
Helps prevent filiform corrosion
What to Use
Choose a non-abrasive polymer sealant—the same type used on car exteriors. These last longer than traditional wax and are more resistant to winter moisture.
How To Apply
Work on a dry, mild day.
Apply a very thin, even layer using a microfiber cloth.
Let it haze.
Buff to a smooth finish.
Pay extra attention to post faces and the bottom rail, where splashback collects.
Light Winter Maintenance
Once sealed, your railings don’t need much.
1. Rinse After Windstorms
Ocean spray can travel surprisingly far. A quick hose-down once a month goes a long way.
2. Keep Mildew Away
If you spot any green or black specks, wipe them right away with mild soap and water so they don’t spread.
3. Be Gentle When Clearing Snow
It may not snow often—but when it does:
Use plastic tools
Avoid banging anything against the railing
Clear snow away from the base so it doesn’t stay damp
Winter on Vancouver Island is beautiful—but your railing faces months of moisture, salt, and humidity. With a little attention in the fall and small check-ins throughout the winter, your aluminum railing will stay strong, vibrant, and beautiful for years.
Your home deserves products that truly work for our climate—and proper winterizing ensures your investment continues to perform like the day it was installed.
If you’d like help, have questions, or want an expert set of eyes on your railing, Quality Aluminum Railings is always here to help.